")
Google Lens Feature: Google Lens is an AI-powered device that uses deep machine learning and the camera on your phone to identify objects, comprehend them, and provide pertinent information based on the picture that was taken.
With Google Lens, users can ask Google Assistant what an object—like a flower—is by pointing their phone at it. In addition, you will receive a response to your query along with recommendations based on the item.
What functions does Google Lens have?
Here are just a few examples of what you can accomplish with Google Lens:
- Add contact information from a business card to your phone.
- Capture a photo of a book cover to access reviews and ratings.
- Transfer event details from flyers or billboards to your calendar.
- Identify animals and plants using visual recognition.
- Scan barcodes to discover where a product is available for purchase.
Which devices support Google Lens?
Most Android smartphones have access to Google Lens. You can download the Google Lens app from the Google Play store if you don’t already have it. Additionally, Google Lens is available to iOS users.
How To Use Google Lens Feature?
- To access Google Assistant on your phone, long press the home button.
- Press and hold the compass symbol that displays in the lower-right corner of the phone’s screen.
- Tap the camera icon, which is located in the bottom-center of the screen next to the microphone icon.
- To continue if this is your first time using Google Lens, select “Get Started.”
- Using the search button, snap a picture of an object you want Google Lens to identify.
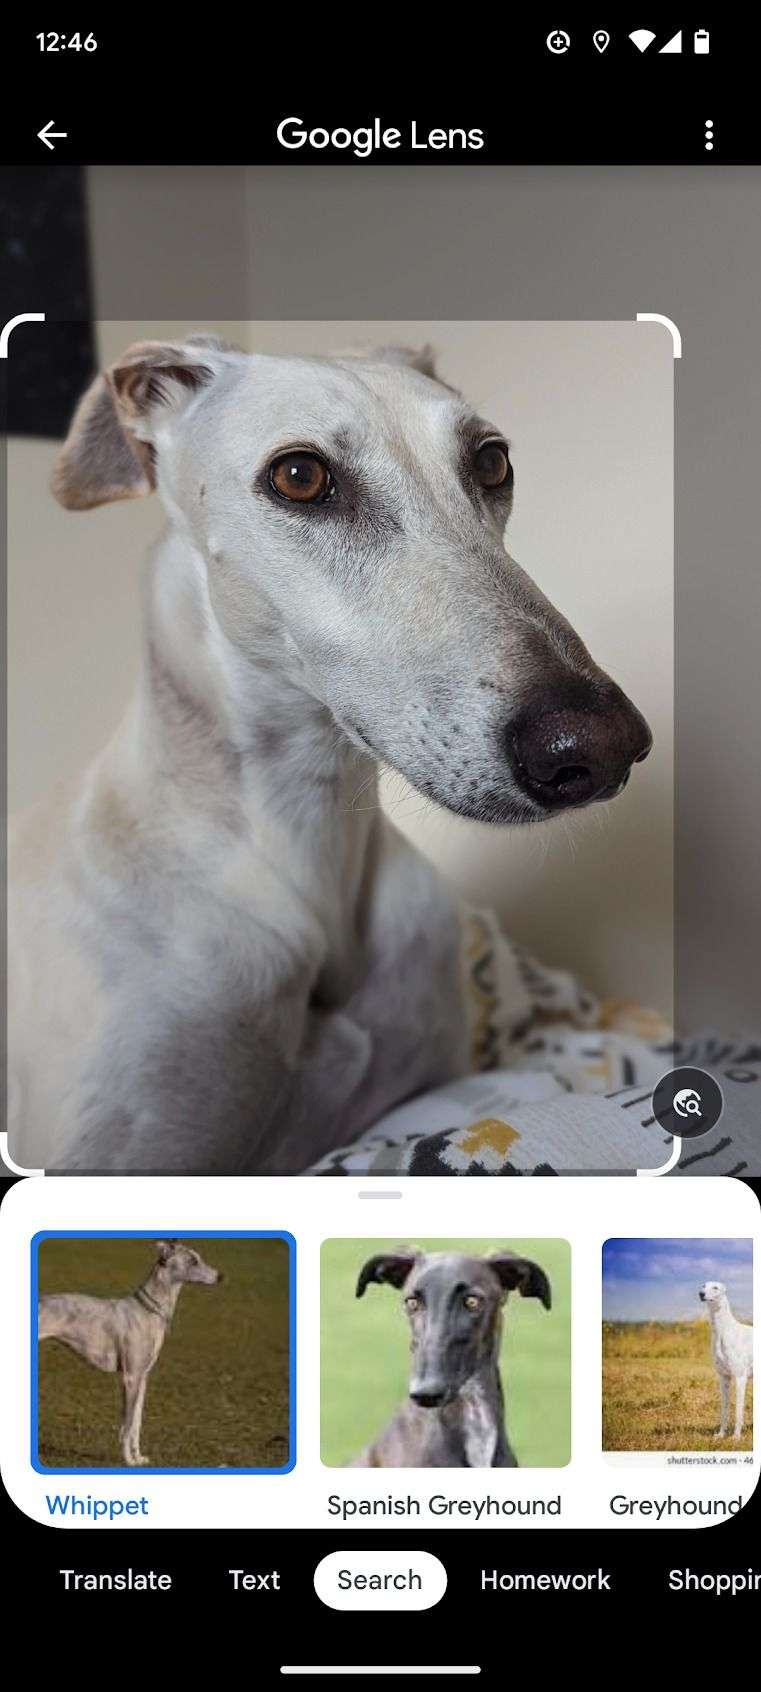
As soon as you snap the picture, Google Lens begins to recognise it and will provide you pertinent details.
Google Play Store 37.8.26 Apk Hits Android Devices: Latest Update Alert
Where are images taken with Google Lens saved?
Launch the Google Lens app on your mobile device. A gallery button will be visible there. To view all of the photographs on your phone in gallery view, simply tap on it. All of your screen grabs are collected into a screenshots section at the top.
In order to give it a shot: Look through your library for a picture that features a well-known structure, artwork, or statue. When you launch Google Lens, the image’s subject ought to be identified by the programme. Regarding artwork, Lens might bring up a Wikipedia entry, some facts, and other details. However, the tool can provide you reviews and instructions if Lens detects a particular type of location, like a restaurant.
How precise is the Lens?
Based primarily on our observations with a Pixel 2, Google Lens has a good understanding of what it is looking at. The artificial intelligence-driven platform accurately recognised the Flatiron Building, Prague Castle, and St Vitus Cathedral in New York. However, it misidentified Shanghai’s Oriental Pearl Radio and TV Tower (seen below) as merely a “skyscraper.”
From a picture we took, Google Lens was able to identify African daisies; nevertheless, the feature mistook the image for a blood orange tree (above). Despite those errors, the accuracy of the feature astonished us quite a bit.
Our only grievance with Google Lens is that it doesn’t appear to be possible to fix incorrect IDs (such as the time it mistook a BlackBerry Motion phone for a BlackBerry KeyOne) or provide details that might help the machine learning process.
Does my Lens activity remain on Google?
Go to the settings of your Google Lens-compatible app and look for the “Web & App Activity” option. Your Google Lens activities, including your photos, will be saved to your Google account if that is enabled.
After that, you may view your activities by logging into your Google Account from any location.
Can my Google Lens history be deleted?
Yes. Moreover, it’s not too hard.
Navigate to the Settings area (marked with a gear symbol) within the app that works with Google Lens. Enter that area and select “Personal info & privacy” > “Activity Controls” > “Web & app activity.”
Toggle it off if you find that your “Web & app activity” is enabled. You ought to be ready now.


